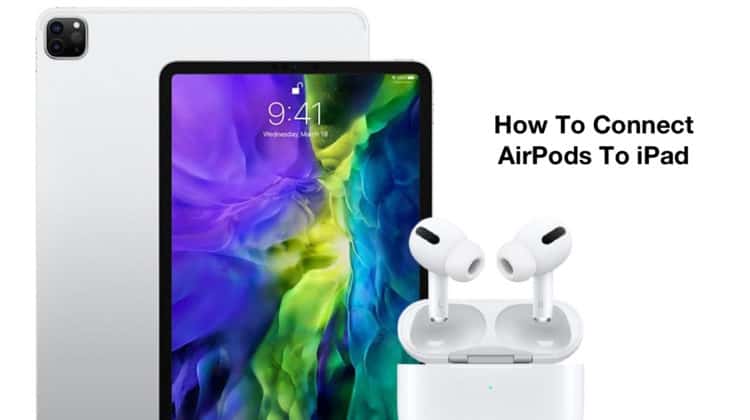
AirPods have the distinction of being considerably easier to use than any other wireless earbuds or earphones. This is because apple integrates its AirPods with a W1 chipset, a Bluetooth-simplifying chip that makes such usability possible. Below, we show you step-by-step how to connect AirPods to iPad.
How to Connect AirPods to iPad
Every new AirPod user with an iPad first looks for a tutorial on how to connect AirPods to iPad. The setup is relatively easy. Just go to Settings > Bluetooth and turn Bluetooth on. After that, go to your iPad’s Home Screen, open your AirPods case with AirPods inside it, and hold it near your iPad. Wait for a pop-up and follow the instructions, then tap done.
Set Up AirPods with iPad:
- Make sure that the Bluetooth on your iPad is enabled before using AirPods with it.
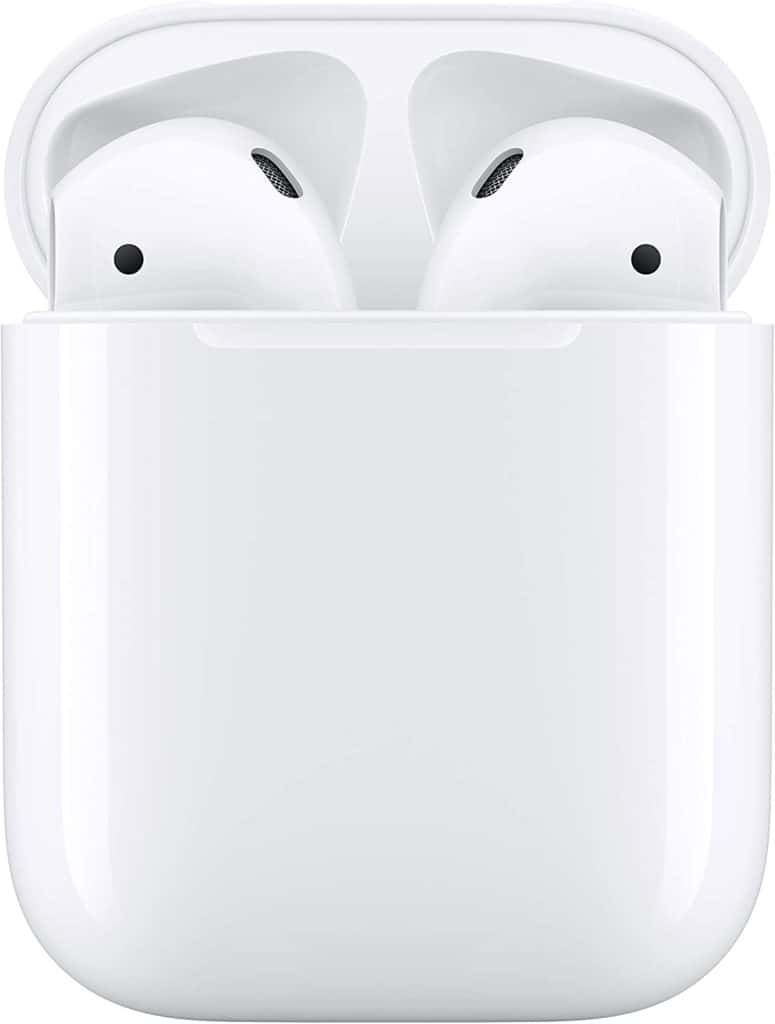
- Also, ensure that your AirPods are fully charged. After checking, open the lid of the AirPods case.
- Now, a pop-up will appear on your iPad’s screen in a couple of seconds. If your iPad has recognized the AirPods, that’s good news.
- To connect your AirPods with your iPad, just tap Connect.
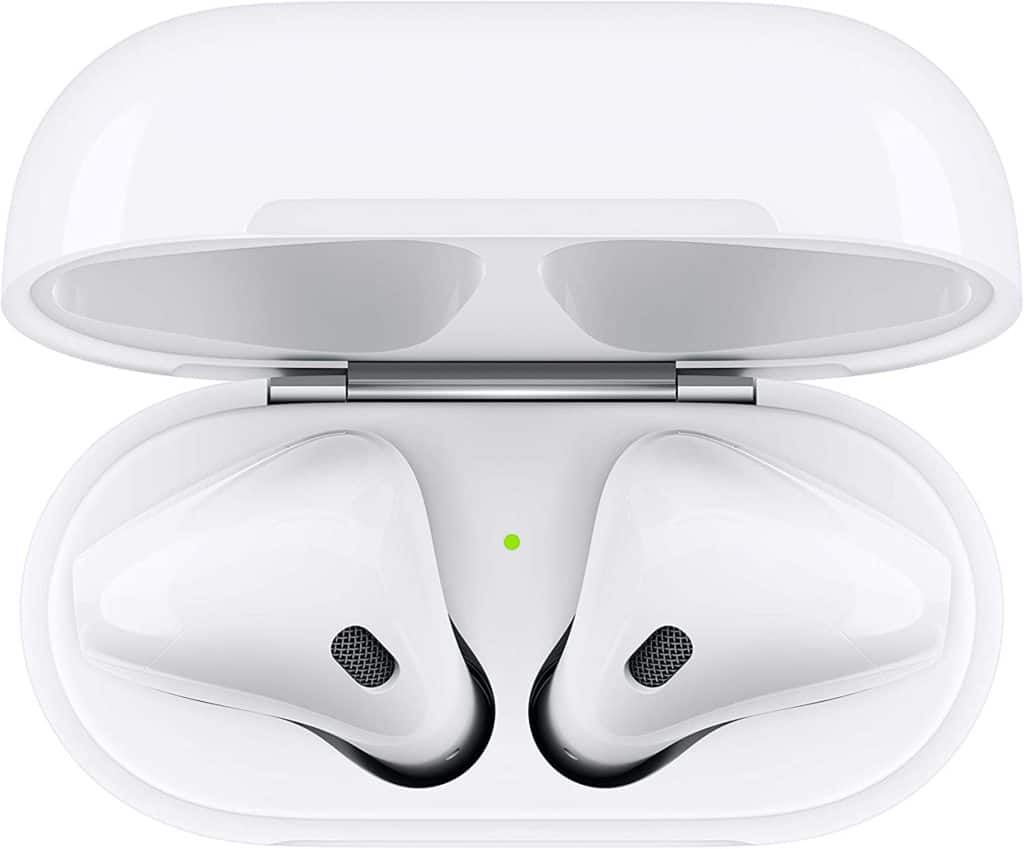
- If your iPad does not detect your AirPods automatically, try closing the lid and turning the case to find a circular button on the rear. After pressing and holding the button for 10 seconds, open the lid.
- Your iPad should now detect AirPods automatically and connect.
- If automatic detection does not work, just open the Bluetooth menu, tap on your AirPods and connect manually.
Requirements to Use AirPods
Not all AirPods come with the same set of requirements for all iPads. Below are the software versions required for seamless functioning of AirPods and connectivity.
- If you have AirPods (3rd gen), you need an iPad running iPadOS 15.1 or later
- For an AirPods Pro, you need an iPad running iPadOS 13.2 or later
- For AirPods (2nd gen), your iPad should run iOS 12.2 or later
- The AirPods (1st gen) require iPads to run iOS 10 or later
How to Connect AirPods to iPad: Common Troubleshooting
The instructions on how to connect AirPods to iPad are not always easy. Sometimes you may run into unexpected issues that might hinder the entire process. Below we list some troubleshooting methods for different types of issues.
Update Software
Admittedly, the lack of a software update is often one of the major reasons why your AirPods won’t connect to your iPad. Installing iOS 10.2 or later is required to use AirPods with an iPad.
You need to update the software on your iPad to connect it with your iPad. Just follow the instructions below:
- Go to Settings > General > Software Update.
- It will show you the current iPadOS version your tablet is currently running (version number). If there’s an update available, you must go ahead with it.
- Update your iPad with the latest version of iPadOS by tapping Download and Install if one is available.
Please note that a big update might take time to download and install.
Use the Same iCloud Account
As long as you have your iPad logged into the same iCloud account on your iPhone or Apple device, your AirPods will be immediately connected to your iPad.
Check if your iPad is linked and logged into the same iCloud profile. If it is not, it’s possible your iPad and AirPods aren’t communicating. So link your iPad to the same iCloud account as other Apple devices.
Restart iPad
Restarting your iPad can fix slight software or connectivity glitches. When you switch your iPad back on, all of the apps running on it are automatically shut off and restarted.
How to restart the iPad
- First, press and hold down the power button and a volume button simultaneously.
- Now, wait for the slider to appear on your iPad, and then slide it to the right to power off.
- Wait for 30 seconds after shutting down your iPad.
- You must now restart your iPad by pressing and holding the power button for a few seconds.
Check Bluetooth
All Bluetooth-enabled devices can only connect to your device when the Bluetooth feature on your iPad is activated. So, you need to make sure that Bluetooth is enabled on your iPad. Just go to your iPad’s Settings > Bluetooth > Toggle it on.
Ensure that AirPods are Within Range
Your iPad and AirPods must be within a 25-foot radius to interact and connect. Bluetooth functionality won’t work seamlessly until both the devices are well within the range of each other.
Charge Airpods
You should always charge your AirPods before connecting them. The Charging Case is used to charge the AirPods.
How to charge AirPods
- Place your AirPods inside the charging case.
- The charge status indicator on your AirPods will let you know how much charge is left in them while they’re in the charging case.
- As soon as your AirPods are completely charged, you’ll see the green status indicator illuminate.
Charge AirPods Case
To use your AirPods’ Charging Case, you must first charge the Charging Case.
How to charge AirPods Charging Case
- Insert the lightning cable into the port on your Charging Case.
- Using a USB port or a wall charger, connect the opposite end of the Lightning cable.
- Your charging case may require several hours to reach 100% charge.
Clean Airpods and Charging Case
If dirt, dust, or other debris gets into your AirPods or Charging Case, it may impair their performance or even result in hardware failure. AirPods might not charge properly if there is junk in the Charging Case.
How to clean AirPods and Charging Case
- Get a lint-free, microfibre cloth to clean AirPods and case (you must avoid materials like tissue paper as it may leave residue).
- Use the cloth to clean your AirPods and Charging Case softly.
- Anti-static brushes or a fresh toothbrush can be used to remove more compact dirt.
Reset Network Settings
Finding the source of a problem with your iPad’s Bluetooth, VPN, or Wi-Fi settings may be a real pain. To solve any related issue, you can just reset your iPad’s network settings to see if you can locate the faulty file or configuration that’s causing the issue.
- Open Settings > General
- Scroll to the Transfer or Reset iPad option
- Now, tap reset > reset network settings
- Enter the passcode for your iPad to execute the reset
- When the confirmation message appears, press the Reset button
The network settings on your iPad will be reset, and the device will restart.
Unpair and Re-Pair AirPods
Another option is to “forget” your AirPods and then re-pair them. Follow the instructions below to unpair and re-pair them on your iPad.
- On your iPad, go to Settings > Bluetooth > tap the I icon next to your AirPods > tap forget this device
- Place your AirPods inside the case and close the lid
- Keep them inside the case for at least 30 seconds
- Press and hold the setup button behind the case until you see the White light flash
- Now, re-pair your AirPods with the iPad by opening the case lid and enabling Bluetooth on your iPad
- Your AirPods will automatically connect
Apple Support
If none of the troubleshooting methods work, you must turn to Apple support for further assistance. You can get in touch with Apple via email or phone to discuss the issue with your AirPods. You can even visit an Apple Store nearby to get it checked on the spot.
Also Read: How to Charge your iPad Faster
Conclusion
We hope this guide helps you with how to connect AirPods to iPad. Generally, users get through the process in one go, but sometimes, the connectivity may get hindered by several factors. For getting past all the issues, just use our troubleshooting methods and let us know which one worked the best for you in the comments.
Enjoyed our guide? You might also be interested in reading — How to Connect Apple Pencil to iPad + Troubleshooting Tips.


Leave a Reply