Being one of the most popular tablets in the market, if not the most popular, the iPad is a versatile device. It is flexible and customizable enough to cater to a highly varied range of end-users with different requirements. Like other adjustable features, the keyboard is also customizable, and if you’re wondering how to make keyboard bigger on iPad, read our guide below!
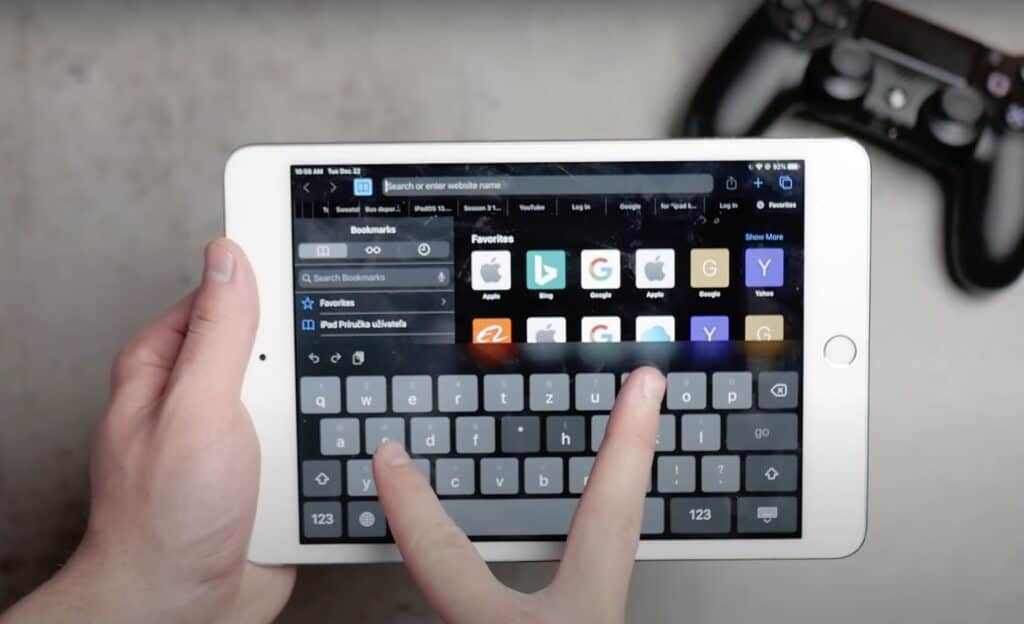
The quickest way to make keyboard bigger on iPad is by using this method — Place two fingers on the floating keyboard. Then, spread your fingers apart to enlarge the keyboard back to full size. You can now type as you would on a regular physical keyboard.
How to Make Keyboard Bigger on iPad
So you can’t type anything on your iPad because the keyboard is too small, and you have no idea how this happened. It’s possible that you did it by accident, or maybe a child changed the keyboard size while playing with your iPad. Worry not, because it’s just as simple to change it back! Here’s how to go about making your iPad keyboard large again:
- First, open up a browser like Safari or Chrome on your iPad. What we need is an app that has a text box so that you can make the keyboard appear.
- Once your app opens up, tap on the address bar or any text box.
- You should now have a small keyboard on your screen. To change it back to the full layout, all you need to do is a pinch-out action by placing two fingers on the keyboard and spreading them apart.
- This should make your small, floating keyboard switch back to the default iPad keyboard layout.
How Do I Get my iPad Keyboard Back to Full Size
If you find that your keyboard has shrunk in size or is floating on your screen instead of being docked to the bottom, it seems either you or someone else has accidentally changed the keyboard settings. But there is a quick and easy fix to this — all you need to do is follow these steps or watch the video below.
- Open any app that has a text box.
- Now tap that text box so that your on-screen keyboard pops up.
- If your keyboard is small, simply place two fingers in the middle and spread them in a zoom-in motion. This should make your keyboard switch to the full layout.
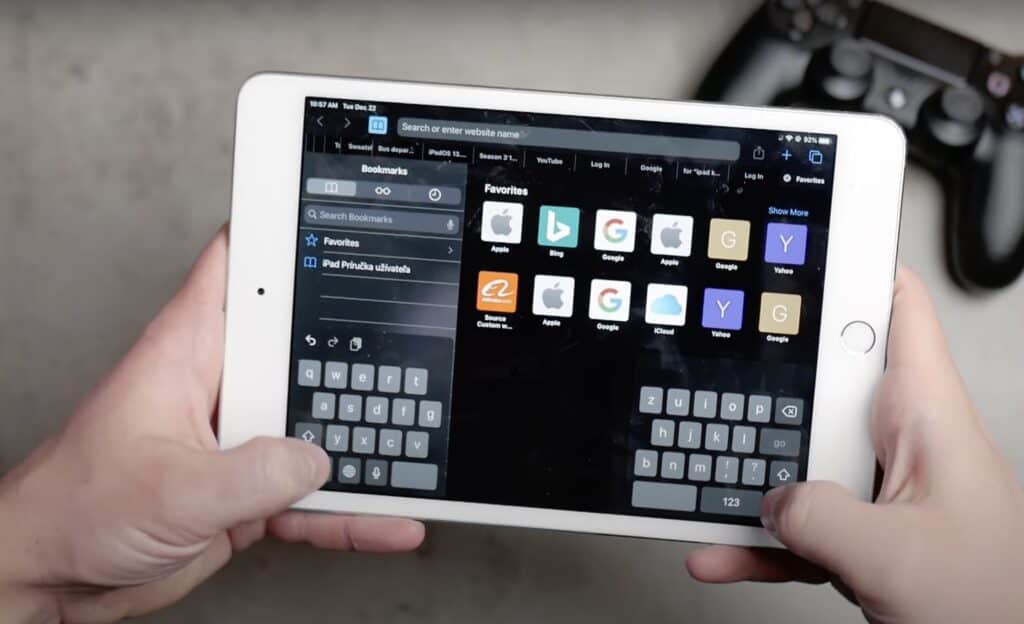
- If your keyboard is split up to different sides of your screen, simply tap the keyboard icon on the bottom right corner of your right-side keyboard, and choose Merge. This should merge your split keyboard into one.
- If your keyboard is floating on your iPad screen, you can tap the earlier-mentioned keyboard icon and choose Dock & Merge instead of Dock.
If you want to learn more about the split keyboard, we wrote a detailed article about it! Read more about the iPad split keyboard and how to enable or disable it.
Customizable settings for iPad keyboard
Now the iPad’s keyboard is good to go even in its default form, but let’s tell you about some of its customizable options because some of these can upgrade your typing experience. From alternate keyboards to settings to time-saving shortcuts to easter eggs, let’s look at some of these customizable features.
- Spell-checker: That’s right, the iPad comes with a built-in spelling assistant that highlights any errors you may have made while typing and also suggests the correct spelling when you tap on the word.
- Predictive text: Predictive text can get eerily accurate once the AI gets used to your typing style and understands you better. Once it establishes your patterns, you should see words pop up at the top of your keyboard, and it can save you the time and effort of manually typing each word. But that said, it can also predict strange words at times, so use with caution!
- Split keyboard: We mentioned it earlier, but a split keyboard can help you type as you would with a smartphone. This is useful at times when you don’t have access to a desk where you can place your iPad. The split keyboard splits the standard keyboard to the left and right sides of your screen so that you can type with your thumbs. To enable this, simply tap the keyboard icon on the bottom-right corner of your keyboard and choose Split.
- Alternate keyboards: There are third-party keyboards on the App Store that you can download and use on your iPad. These are safe to use, which is why they’re available on Apple’s App Store. Keyboards such as SwiftKey, GBoard, and Grammarly, can be a lot of fun since some of them have themes and certain custom features that you might enjoy. You can read more about custom keyboards on Apple’s keyboard page.
- Text Replacement: This is one of the best features on our smartphones, and thankfully the iPad has it as well. Text replacement allows you to type in shortcuts, and iPadOS will automatically replace it with longer words or a word of your choice. For example, you can type ‘gov’ instead of ‘government,’ and the iPad keyboard will automatically switch it for you. It’s beneficial in situations when you repeatedly type a long word and want to save time.
- Special characters: Many people are not aware that you can type special characters on your iPad keyboard. All you have to do is long-press alphabets, and you will see alphabets with diacritical marks that you can then slide your finger to choose. For example, if you want to enter a degree symbol, simply press and hold the ‘0’ number key!
- Dictation: Why manually type when you can simply tell your iPad what to type? That’s right, you have the option to use the voice-to-text feature on your keyboard, and from all our tests, it’s pretty accurate too! To activate it, in case it’s not already activated, simply navigate to Settings > General > Keyboards and toggle the switch next to ‘Enable Dictation.’
- Slide to type: They say that once you get used to the slide-style of typing, you never go back! It didn’t work with us writers, but maybe it will work for you? The iPad supports this typing method, and you can enable it by going to Settings > General > Keyboards, where you can see a toggle button next to Slide to Type. Enabling this will let you slide from alphabet to alphabet and type instead of tapping each alphabet.
- Other settings that you can toggle on your keyboard include Auto-Correction, Enable Caps Lock, Smart Punctuation, Character Preview, and Emoji Stickers.
You could also completely skip the on-screen keyboard by opting for a physical keyboard that you can then connect to your iPad via Bluetooth. We also wrote an amazing buyers guide for iPad keyboards that should get you started!
How to create iPad keyboard shortcuts
Let’s say there is a phrase or word that you commonly use in work or study-related emails, and it’s a chore to type it repeatedly. You can create a shortcut for that word where you type in an abbreviated form, and the keyboard automatically replaces it with the full word. For example, if you work in the automobile industry and repeatedly type ‘Anti-Lock Braking System,’ you can add a shortcut under ‘ABS.’ The keyboard will automatically replace ‘ABS’ with ‘Anti-Lock Braking System’ each time you type it.
Here are the steps to do this:
- Go to Settings > General > Keyboards.
- Look for Text Replacement and tap it.
- Inside this section, you will see a ‘+’ sign in the top right corner to add a shortcut. Tap it.
- Now you will see two text boxes — one saying Phrase, and the other Shortcut.
- The ‘Phrase’ box is where you have to type the full word that you are creating a shortcut for — in our example, it would be ‘Anti-Lock Braking System.’
- Now in the Shortcut box, type in ‘ABS.’ After this, tap Save in the right-upper corner.
- Now each time you type ‘ABS’ in emails apps or even in browsers, it will be replaced with the phrase ‘Anti-Lock Braking System’ by your keyboard.
Change keyboard to QWERTZ or AZERTY
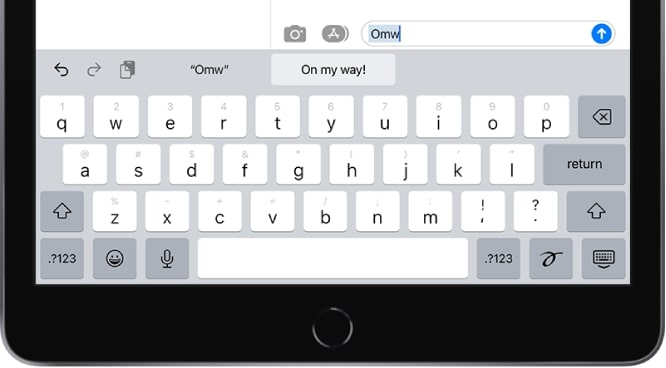
While QWERTY may be the most common layout for keyboards, some people do prefer the AZERTY or QWERTZ layouts as they are common in places like Europe. Here’s how you change the default English keyboard layout from QWERTY to AZERTY or QWERTZ.
- Navigate to Settings > General > Keyboards.
- Inside Keyboards, you should see English (US) and any other languages that you may have added.
- Tap on English (US), and you should now see three options — QWERTY, AZERTY, and QWERTZ.
- Choose the layout you are comfortable with, and the checkmark should appear next to it.
- The next time you open your keyboard by tapping a text box, you should see the new layout.
Why is the Keyboard Small on my iPad
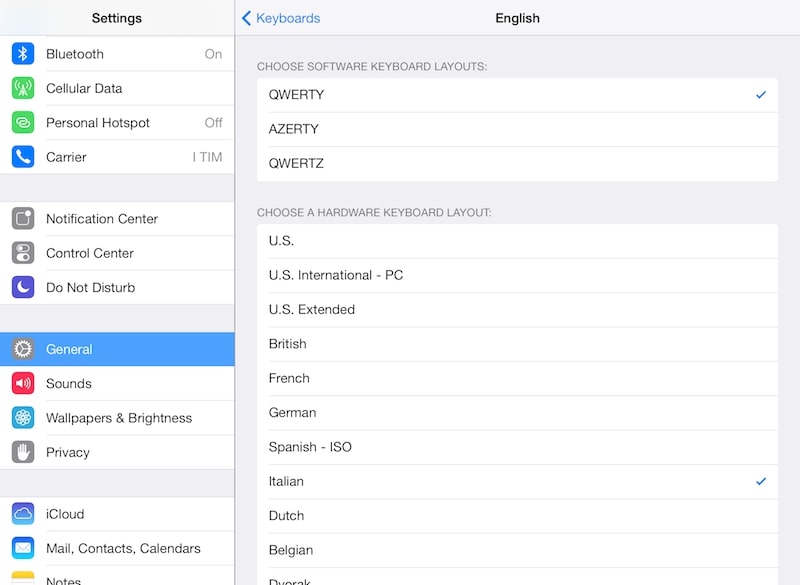
There is a chance that you may have accidentally changed your keyboard size, as it is very simple to do it with the wrong move of your hand. To change it back to the default full-size keyboard, all you need to do is press down on the keyboard with two fingers and spread them out, like you’re zooming in on an image. This tells the keyboard to return to the large size. Similarly, to switch back to the small version, all you have to do is pinch inwards.
Why is my Keyboard Split on my iPad
Many people use the split keyboard as it allows them to type with their thumbs, as they would on their smartphones. If you see a split keyboard on your iPad, it must have happened accidentally when someone was using it. To go back to the original default layout, look for the keyboard icon in the bottom right corner of the right part of your keyboard. Tap that, and you should see an option called Merge. Simply press it, and your keyboard should be back to the large QWERTY version.
Related Read: iPad Split Keyboard: 3 methods to fix or disable in iPadOS
Conclusion
We hope our article answered your question on how to make keyboard bigger on iPad. After all, it’s a common issue, and there’s a chance that an accidental touch shrunk the keyboard to the small version! If you have any more questions about the keyboard or run into a similar issue while using your iPad, make sure you ping us, and we’ll definitely help you out in the comments section below!

Leave a Reply