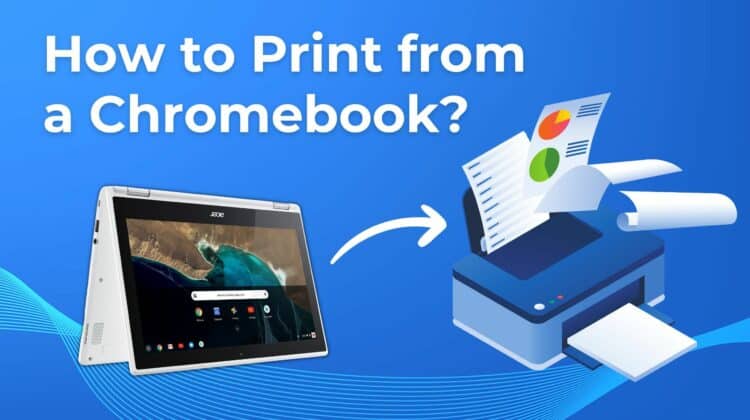
Even though Google Chromebooks excel at online services, there’s still a need for a good old-fashioned printout during your digital journey. While printing from Chromebooks has become simpler in recent years, many users are still confused about how to do so.
But don’t fret; today’s guide will explain the complete process of how to print on Chromebook. Very soon, you will be churning out paper from your cloud-centric computer!
Let’s get started.
How to Print on Chromebook
Printing from Chromebooks:
- Go to the Chrome menu button at the top right corner.
- Press Print. Alternatively, hit Ctrl + P.
- Select your printer from the list.
- Press Print to get your documents printed.
Congratulations! You have successfully printed from ChromeOS.
Can I Print on a Chromebook?
There are many perks of using a lightweight laptop, such as a Google Chromebook. Yes, the web-first design makes it a bit different from a MacBook or Windows 10 laptop, but it can easily tackle mundane tasks, including printing.
Unfortunately, Google discontinued the Cloud Print system in 2020, which previously allowed for easy printing from any cloud-connected device. As a result, some older printers may not be compatible with your Chromebook for printing purposes.
Therefore, before buying a printer, particularly a used one, ensure that it is compatible with ChromeOS. Here you can find some names of compatible printers.
Printing on a Chromebook
Printing on a Chromebook is a pretty easy procedure, and here’s how to do it:
Add a wireless printer
If you have a suitable current printer that can be connected to the internet, it can be directly added to the device without any extra services. First of all, ensure that the printer is switched on and connected to the same Wi-Fi network as the Chromebook.
The process of linking the printer to the internet connection depends on the specific model. However, there is usually an internet or Wi-Fi option located on the printer display. The option can appear in the Settings menu or as an icon on the main screen.
Is your printer online and running? Follow these steps now:
- Tap on the clock at the lower right corner of the computer screen. Now, press the gear-shaped icon to launch its settings.
- Type “print” in the search box at the top of the settings panel. Afterward, choose Add a printer from the drop-down menu.
- Tap on your printer name from the list. Now, click the Set up button to complete the pairing.
- It is likely that an older printer might come up on the list, but might not configure automatically. In this case, add the brand and model in the pop-up box. And if this does not work, you will need to add it manually.
Add an older wireless printer
Is your printer not showing on the list? This can occur if it is an older device. In this case, you have to tap on the Add printer button.
Here is what to do next:
- Offer the printer any name of your preference.
- Enter its IP address in the Address box. You can commonly find the IP address in the printer display menu. You may also look for it in its settings for a section regarding wireless or network configuration.
- Do not touch the other two fields. Press the blue Add button and type in your printer’s brand and model. Now, choose suitable options as they appear. Tap on the blue Add button after you are done.
Let’s head on to the last stage of the process.
Physically connect a printer to the computer
If you are using a much older printer that is internet-capable but it is somehow not connecting manually as mentioned above, or if it simply is not internet-capable, do not worry. Connecting your printer physically to your computer via a USB cable is still possible. Follow these instructions:
- Plug the cable into the printer, and afterward, plug the other end into the Chromebook. This step demands an adapter in some cases, based on what category of cable you possess and what type of ports are offered by the computer.
- A pop-up notice might occur requesting you to configure the printer. Tap on the pop-up, choose Add a printer, and follow the rules.
- If not, launch the Chromebook settings and type “print” in the search box.
- Choose Printing.
- Tap on your printer name and click the blue Add button to complete the step.
That’s all.
How to Print a Page on a Chromebook
After setting up your printer, you may print directly from the Chromebook with these steps:
- Launch the page which needs to be printed. Press the Ctrl + P keys at the same time. Alternatively, you can press the 3-dot button situated in the top right corner and choose Print from the menu.
- A pop-up window will emerge on the screen. Find the Destination field and verify that your printer is mentioned. Otherwise, tap the down arrow and locate it on the drop-down menu. You may also choose See More to find other printers linked to the Chromebook.
- After your printer is verified, confirm other general settings.
- Ensure that you have entered correct amount of copies and pages you need to print.
- Surf the layout to confirm.
- Finally, check the color setting because you don’t want to print a black-and-white document if you want full color. For more options, press More Settings regarding margin, scale, quality, and size.
- Choose the Print button to start printing.
Watch this YouTube tutorial to better grasp the process.
Also Read: Here are 7 Ways to Speed up a slow Chromebook!
Conclusion
And that’s it! In 5 minutes, you have learned how to print on Chromebook. With only your Chromebook, Wi-Fi network, printer, and paper, you can easily print out whatever you want.
Thanks for reading, and until next time!

Leave a Reply