The Microsoft Surface range of 2-in-1 tablets has been quite popular with buyers in the last few years, as these devices are powerful and stylish. It also helps that most people are familiar with Windows, so the learning curve is quicker for people who already have a PC. And the Surface Pro hybrid tablet series is part of the upper end of the Microsoft Surface range.
Your familiar home PC lets you take a screenshot with the tap of a single key — but how to screenshot on Surface Pro?
The Surface Pro series can handle some pretty complicated tasks, but can it handle something as simple as a screenshot? Short answer: Yes — so read on to learn the six ways you can take a screenshot on the Microsoft Surface Pro!
How to Screenshot on Surface Pro
Here are some ways to screenshot on a Microsoft Surface Pro:
- Press the Power and Volume Up keys together.
- If you have a keyboard attached to your Surface Pro, press the Print Screen (PrtSn) key.
- If you use a Surface pen, press and release the eraser button twice, rapidly.
- You can also use the Snipping Tool, which is built into Windows, to grab a screenshot.
- Another method would be to use the Snip and Sketch app, which is part of any Surface Pro running Windows 10 and newer operating systems.
How to Take a Screenshot on Surface Pro
We definitely love how convenient it is to take a screenshot on a Windows PC, as it’s simply a tap away. It’s just as easy if you have a Surface Type keyboard (the one that attaches to your Surface Pro device) as you can simply tap the Print Screen key, but we will first look at how you can snap a screenshot without using a keyboard.
Take Screenshots without a Surface Type Keyboard
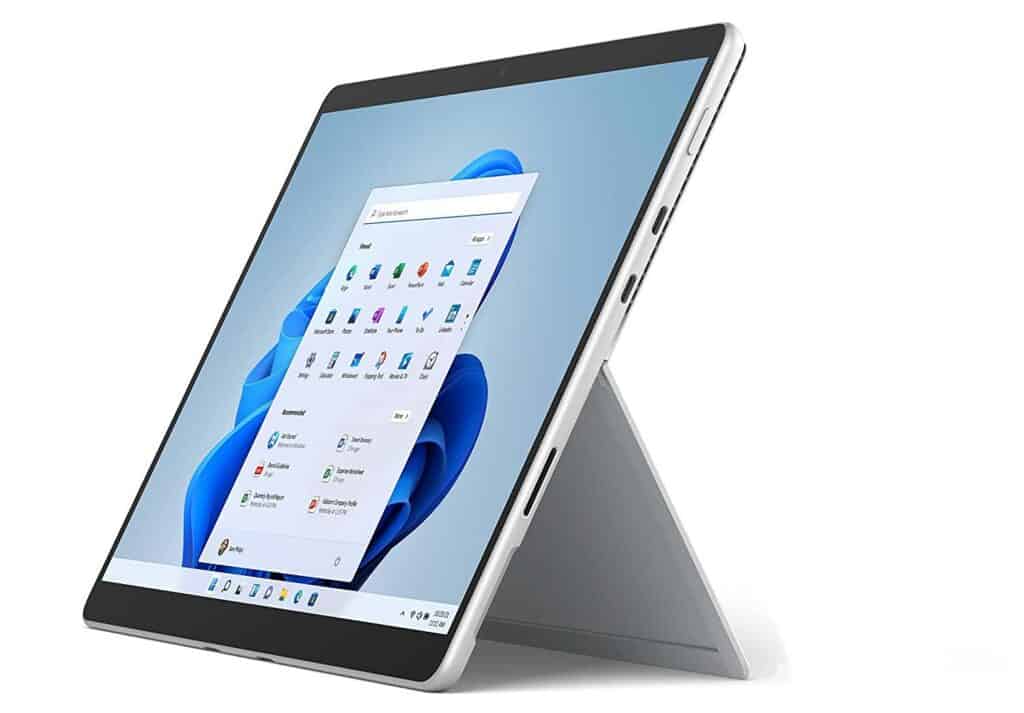
You can take screenshots on your Surface Pro device using its hardware keys, but the method is slightly different for Surface Pro 4 and later, as compared to the Surface Pro 3 and older models. Check the sections below, depending on which variant you own.
Surface Pro 4 to Surface Pro 9
If you own a Surface Pro 4 or older model (this includes the Surface Pro X that launched in 2019), here are the steps to execute a screenshot:
- Keep a finger on the Power/Wake button and another on the Volume Up key of your Surface Pro.
- Press both simultaneously and then release both keys.
- You will see your screen dim and then flash for a second, indicating that a screenshot has been taken.
- That’s it!
Here’s a video guide to the above steps:
Surface Pro 3 and older
If you own the Surface Pro 3 or an older device, it’s a key combination you have to press to grab a screenshot:
- Find the Windows Key and the Volume Down button on your Surface device.
- Press and release both simultaneously — your screen will dim briefly to indicate that a screenshot has been recorded.
Take a Screenshot with a Surface Type Keyboard
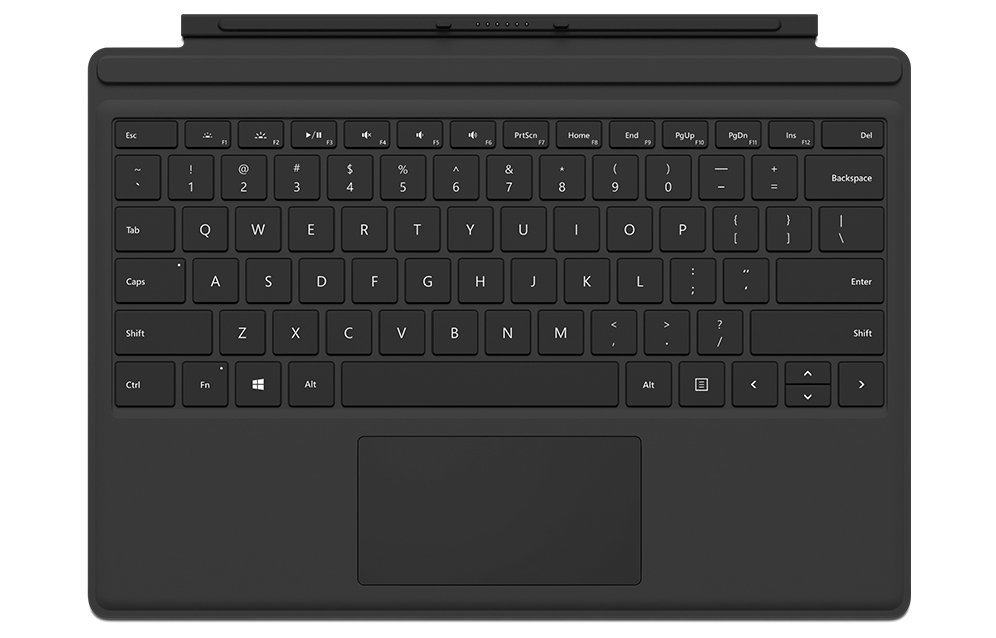
Surface Type Cover keyboards are ideal for people who want to type extensively on their Surface Pro devices and desire the feel and feedback of a physical keyboard. Accessories enrich your user experience — and that extends to your screenshotting abilities.
If you own a Surface Type keyboard, simply look for the PrtSn key — short for Print Screen — and tap it. This will automatically save a copy of your current screen to your Pictures library (find it through your Start menu).
Wondering how the Surface Pro holds up against iPad Pro? Read our comparison article!
Take a Screenshot on a Microsoft Surface Pro with a Pen
If you don’t own a Surface Pro keyboard but own a Surface pen, you’re in for some good news. It’s extremely easy to take a screenshot on your Microsoft Surface Pro when using a stylus.
When Windows 10 rolled out its Anniversary update, it included an app called Screen Sketch. This nifty app not only lets you doodle but also allows you to crop images and do basic photo-editing jobs. And the Surface Pen uses this software to help you grab a snap of your screen.
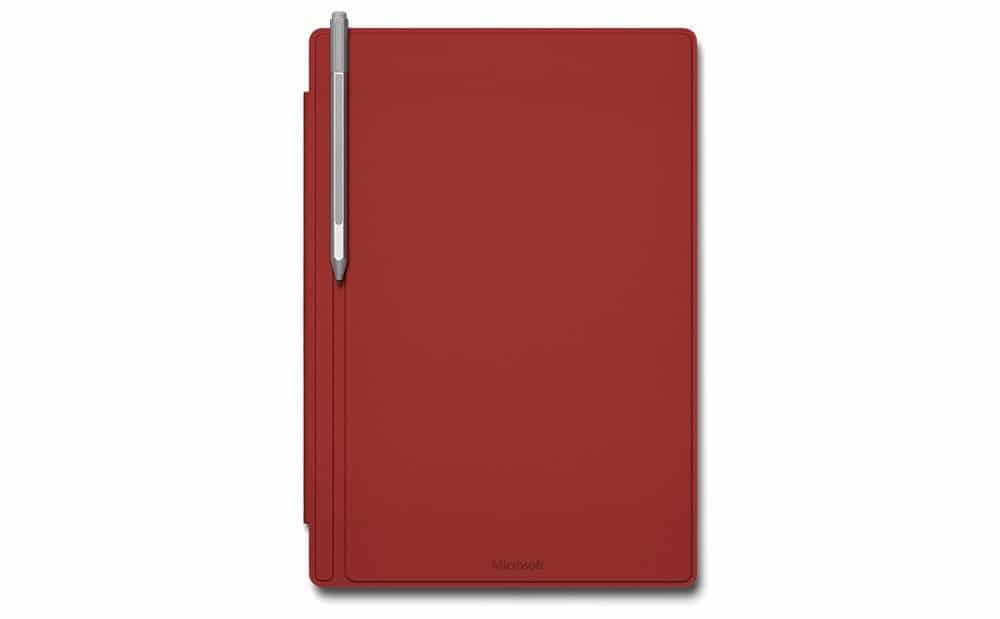
To use this method, simply follow these steps:
- Ensure your Surface Pen is connected to your Surface Pro.
- Double-press the eraser button.
- On your display, you will see that a screenshot has been taken.
- You can then tap the “Save As” button to save the image.
You can also see a small icon dashboard at the base of your screen when you connect your Surface pen. This includes a shortcut to the Windows Snipping Tool that you can tap on with your pen, pulling up the app that then lets you save a snap of your screen.
Read more about this tool below!
Take a Screenshot Using Windows Snipping Tool
The Windows Snipping Tool is the “official” quick image editor for the Windows operating system. It lets you screenshot your full screen or parts of it and quickly edit it. It even features a timer so that it can automatically snap a screenshot.
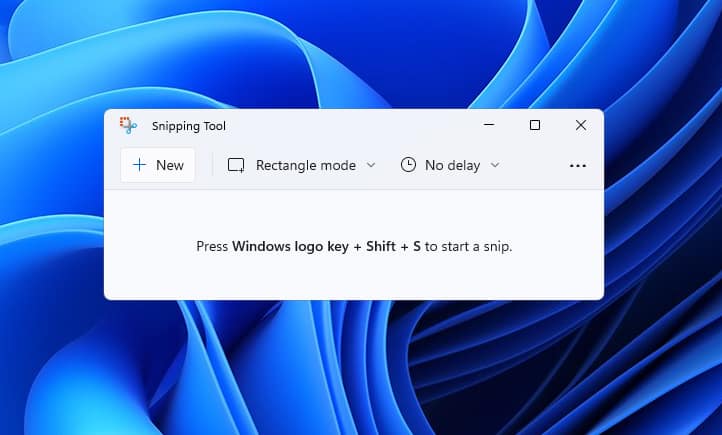
Here are the steps to save a screenshot on your Surface Pro using the Snipping Tool:
- To pull up this app, tap Start, and then in the search box, enter “snipping tool.”
- You can also find it by navigating to Accessories in the Start menu.
- Once it appears, choose the drop-down menu under New and select Full-Screen Snip (you can also choose Rectangular Snip or Free-Form Snip).
- Once the screenshot is taken, you will then see the option to save the screenshot, so go ahead and do that.
Take a Screenshot using Windows Snip and Sketch
Like the Snipping Tool, you can also use the Snip and Sketch tool, which is a part of your Windows operating system, to save a screenshot. Think of it as an upgrade to the Snipping Tool, as it’s capable of doing a lot more!
Here are the instructions:
- First, open up the Snip and Sketch app — you can find it via the Start Menu or type the name into the search box. If you use Cortana, you can use voice controls to find it.
- Once the app is open, tap New and then “Snip Now.”
- You can then choose from three options — Free form, Full-screen, and Rectangular.
- Once the screenshot is taken, you can then save the image to a location of your choice by tapping the floppy disk icon.
Check out our review of the Surface Pro 7.
Take a Surface Pro screenshot using Keyboard shortcut
If you’re not about that easy life where you tap the Print Screen key to save an image, here’s a button combo that will help you pull up the Snipping Tool so you can save a screenshot. It’s useful for situations where you don’t want to save the whole screen, which is all that Print Screen does.
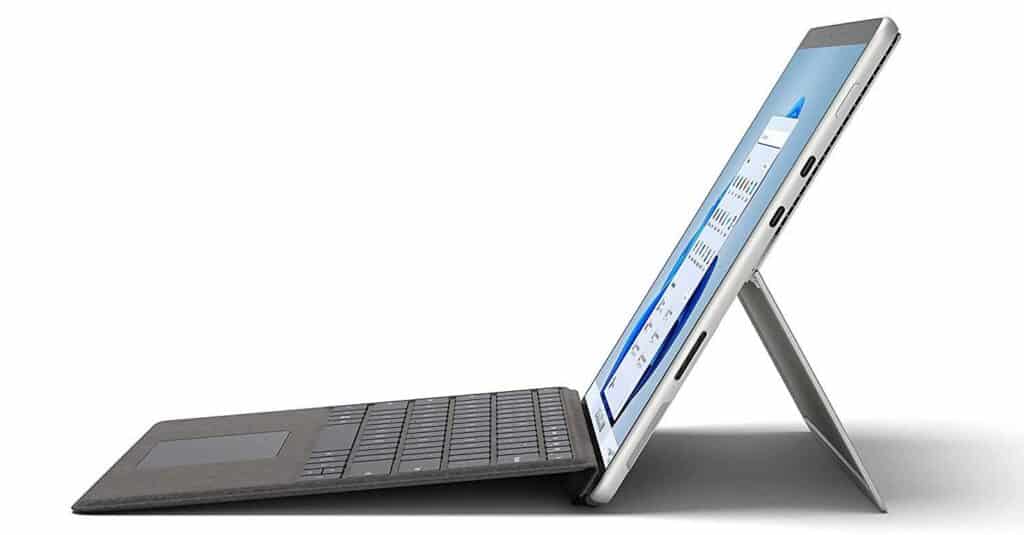
If you press these three keys — Windows + Shift + S — the Snipping tool will appear on your screen. You can then tap New and select the Rectangular Snip option to select an area to save as an image file. You’re welcome!
If you own a Surface Pro 3 or older, you can also save a screenshot by pressing the Windows, Fn (Function), and space bar keys together.
Where does Surface Pro save Screenshots?
So now you know six different ways to save screenshots on your Microsoft Surface Pro. But where are these screenshots saved? If you’re wondering how to find saved screenshots, keep reading.
When using the Snipping Tool and Snip and Sketch, you get the option to choose a location to save your screenshots. But when you use the PrtSn (PrtScn keys on older Surface Pros) key, the default save location is the Pictures folder on your system.
To find it, simply navigate to the Pictures folder in your Start menu, or type in the word “pictures” in the search box. Depending on which version of Windows you’re running, it could also be inside the Screenshots subfolder.
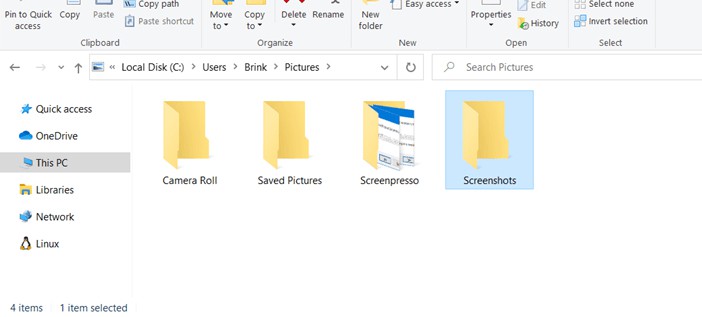
You can also open up File Explorer and navigate to “This PC” on the left pane, and you should see the Pictures folder on the right. Double-click it or tap it to see the Screenshots folder.
If you want to change the default save location for your Print Screen screenshots, right-click on the Screenshots folder and tap Properties. You can choose the Location tab and then tap the Move button. You will now see a folder tree that lets you pick a new default save location.
Frequently Asked Questions
Where do Alt F12 screenshots go?
F12 and Alt + F12 screenshots are typically used when gaming, especially when on Steam. These screenshots are saved in the Steam folder inside C:\Program Files (x86). If you’re on a Mac, go to the Steam folder at Users/Your username/Library/Application Support. If you used the F12 key when playing a random game, you can find the screenshots folder within the game’s installation location, which is typically inside C:\Program Files.
How do I enable Ctrl Shift S screenshot?
The Ctrl + Shift + S key combination is used as a shortcut within Microsoft’s Edge browser to save a screenshot. You don’t have to enable it specifically, simply pressing these keys will pull up the Web Capture feature. If you meant to grab a screenshot, press the Windows key + Shift + S.
Conclusion
We hope this guide on how to screenshot on Surface Pro helped you out today and that you were able to save all the images you wanted to. If you have any more questions on the topic or are unable to use any of these methods, leave us the details of your device and operating system, and we’ll definitely help you out! Thanks for reading!

Leave a Reply