Fire tablets are an excellent option for buyers looking for an affordable Android tablet that doesn’t compromise in any manner. These tablets, manufactured by Amazon, run on FireOS, which is basically a custom ROM of the Android operating system you’ve seen running on smartphones and tablets.
And since it’s an Amazon device, you get access to all of Amazon’s services — including the books collection, Prime movies, Amazon exclusive TV shows, and Amazon music, of course. FireOS took the best of Android and added a ton more things.
But that doesn’t mean you get to do everything you can on an Android — for example, you can’t access Google Play or download apps from it (but we’ve found a workaround if you’d like to take a look).
Since the UI of the Fire tablet is different, executing basic functions can seem tricky — and that’s why you’re here! If you’re wondering how to screenshot on Fire tablet, you’re in the right place. Today we cover all the various methods you can use to take a screenshot on your Fire tablet, regardless of the generation or model, so keep reading!
How to Screenshot on Fire Tablet
It’s pretty simple to grab a screenshot on an Amazon Fire tablet. All you have to do is press and hold the Volume Down and Power buttons together for one second. You will see the screenshot being taken (the screen flashes for a second) on your tablet, and the image will be saved to the default location.
Taking a Screenshot on a Fire Tablet
Well, this might not come as a huge surprise — but you can grab a screen capture on an Amazon Fire tablet exactly the same way as any other Android tablet.
And in case you don’t know what that key combo is, here are the instructions:
- Navigate to the screen where you want to take a screenshot. This can be a webpage or some location in your system settings or even a screen capture of your Fire tablet desktop.
- To take a screenshot, press the Power button and the Volume Down button simultaneously.
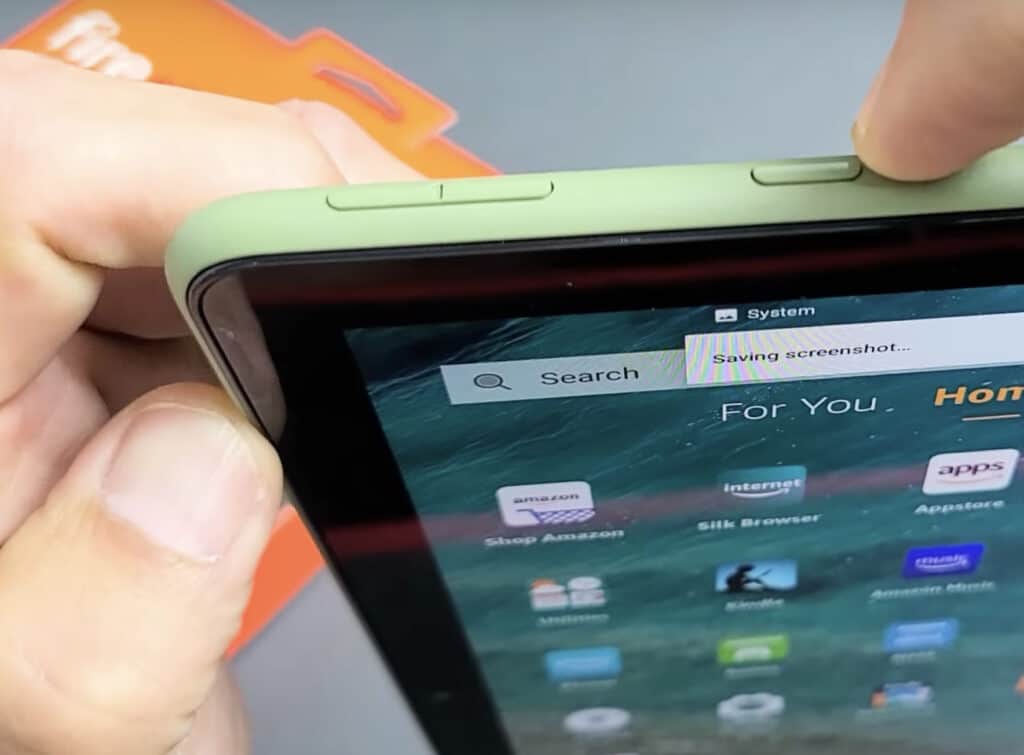
- You will see your Fire tablet screen flash, and some fancy animation will show you a miniature version of your screenshot at the edge of your screen before it disappears.
- But don’t worry, it hasn’t actually disappeared — you can still find it at its default save location. Wondering where are screenshots saved on Amazon Fire tablet? It’s saved to your default photo gallery. Unless you use a third-party gallery app, you can use the Photos app to find it.
- Note that these instructions assume that you’re holding the Amazon Fire tablet in normal portrait mode. If you’re holding it in landscape mode, you will have to press the Power button and the Volume key that’s closest to the bottom simultaneously.
Have you read our detailed review of the Amazon Fire HD 10 yet?
How to Take a Screenshot on an Amazon Fire HD 10
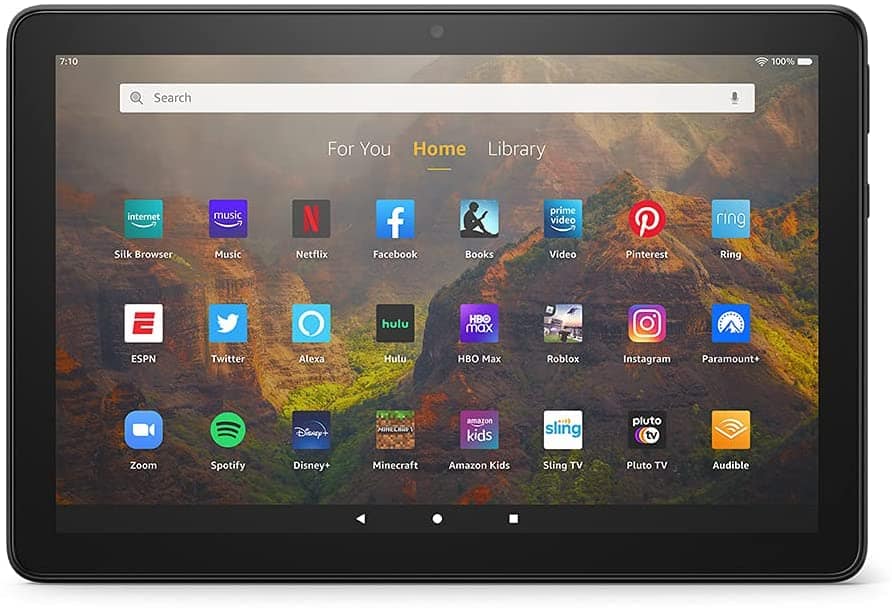
The process of taking a screenshot on the Fire HD10 tablet is slightly different.
- Go to the page that you want to save a screenshot of.
- Next, you have to press and hold the Power button until an on-screen menu appears.
- From this menu, choose “Screenshot.”
- Your screen will flash, and your screenshot will appear on your screen, before disappearing.
- You will also get a notification at the top that says your screenshot has been saved.
- To find the image, simply open your Photos app.
How to Take a Screenshot on a Fire HD 10 Kids Tablet
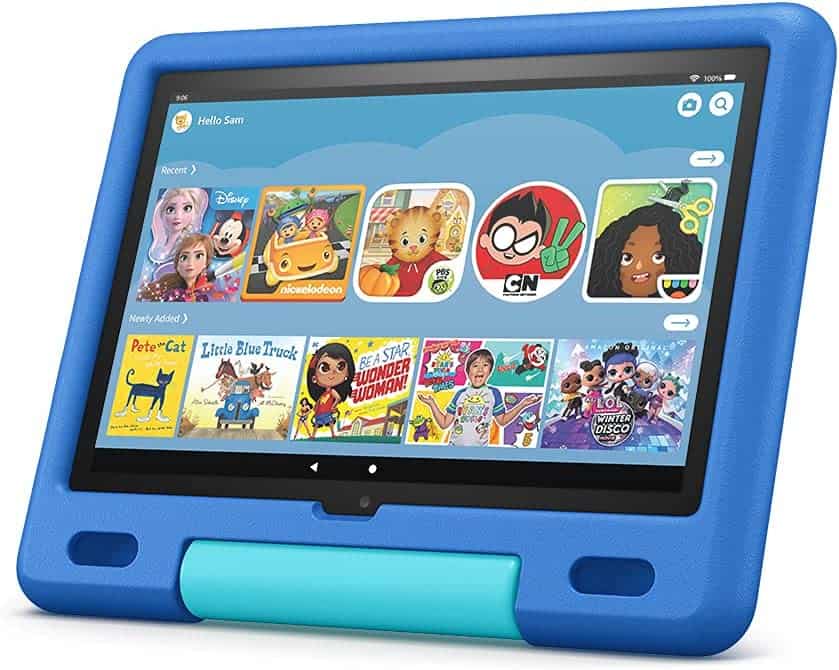
It’s pretty simple to execute a screen capture on an Amazon Fire HD 10 Kids device:
- Log on to your adult account, and not your child’s.
- Open the page you wish to save as a screenshot.
- The first method is to press and hold the power button until you see a mini pop-up that has a “Screenshot” option. Tap that to save a screenshot.
- The other method is to press and hold the Power button and the Volume Down button simultaneously.
- Like in the above methods, you can find the screenshot saved in the Photos app.
Here’s a video guide to the above steps:
Sharing a Screenshot on a Fire Tablet
If you’re in a hurry to share a screenshot, the quickest method would be to tap on the notification that appears immediately after you snap a screenshot. It will immediately open up the image, where you can then select the Share button to send it to your contacts via Bluetooth, email, or any of your social media apps like Facebook or Twitter.
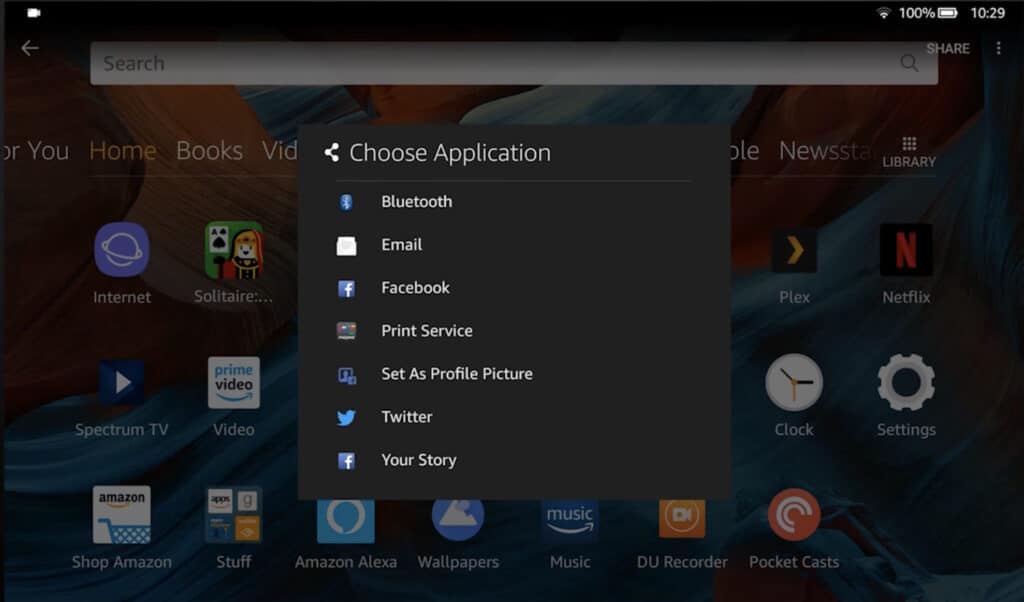
This Share menu is also where you get the Print command if you want to print your screenshot.
But let’s assume you missed the quick notification about your screenshot — is all hope lost? Of course not! Simply open up your Photos app, so that you can see your library of saved images. Here, you will be able to view all the screenshots you took.
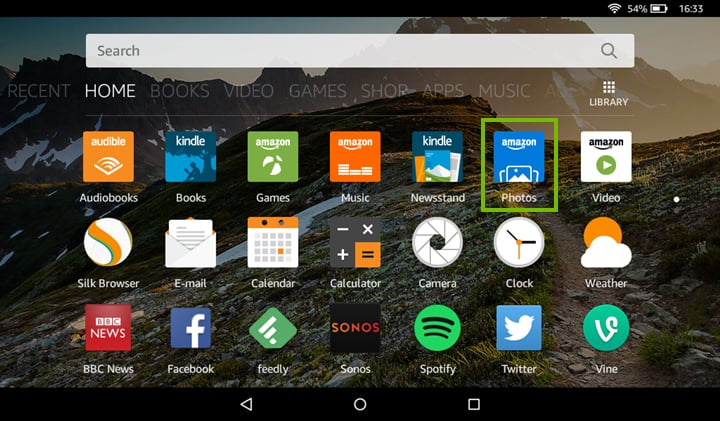
Here’s how you can share a screenshot from a Fire Tablet:
- Open the Photos app, and then tap the screenshot to open it.
- Next, tap on the Share icon. You can now share the image via the app of your choice.
- If you want to share multiple items from the Photos app, long-press an image until it is selected (a tick appears on it). You can then select more images.
- Once you’re done selecting the images you want to share, tap on the Share icon. It’s also possible that you may have to tap Options (three-dots menu) in the top-right corner first and then tap Share.
Deciding between a Fire tablet vs Samsung tablet? Read our comparison first!
Copying Screenshots from Fire Tablet to Computer
So now you have a bunch of screenshots, and you want to transfer them to your computer. Depending on whether you use a Windows PC or Mac, refer to the instructions below.
How to Transfer Screenshots from Fire Tablet to Windows PC
- First, connect your Fire tablet to the Windows PC using a USB cable.
- On your PC, open up File Explorer and click on the connected tablet.
- Navigate to this folder: Internal Storage > Pictures > Screenshots.
- You will be able to see all your screenshots here in the year-month-day-time filename format.
How to Transfer Images from Fire tablet to Mac
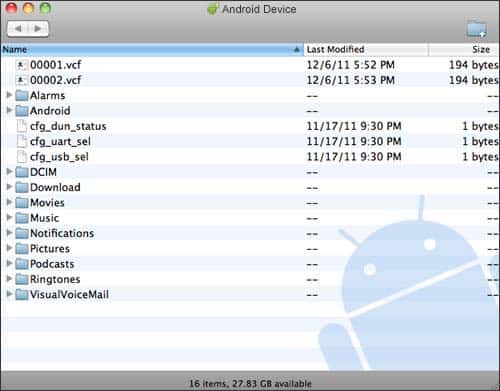
- To connect a Fire tablet and browse its file system, you need to first download an app called Android File Transfer to your Mac.
- Once the app is downloaded, connect your Fire tablet to your machine using the appropriate USB cable.
- Android File Transfer should automatically appear on your Mac screen. If it doesn’t, open it up from Applications.
- On the app screen, navigate to Pictures > Screenshots. You will be able to see all your screenshots here. You can then transfer them to a save location on your Mac.
Frequently Asked Questions
Now that we’ve shown you the method(s) behind the madness that is screenshots on your Fire tablet, we answer a few common questions.
If your volume button isn’t functioning, or you want to know an alternate way to take a screenshot, simply press and hold the power button. In addition to the Shutdown and Restart options, you also get a third option — Screenshot. It’s particularly useful when you’re operating a tablet with just one hand.
Where do screenshots go on Kids Fire tablet?
On the Kids Fire tablets, all screenshots are saved to the Photos app. If you are unable to see it for some reason, log on with the adult account. Sometimes parental controls can restrict you from viewing screenshots on the kids’ account.
How do you take a screenshot for kids?
If you’re trying to save a screenshot on a Fire Kids tablet, simply press and hold the Power button and Volume buttons simultaneously.
Where do I find screenshots in settings?
Screenshots cannot be executed from the settings menu. You can press and hold the power button on a Fire tablet until a menu pops up, allowing you to tap a “Screenshot” option.
Conclusion
As you can see, there are only two ways to snap a screenshot on an Amazon Fire tablet. One is to long-press the power button until you see the Screenshot option on your screen, and the other method is to press and hold the Power button and Volume buttons simultaneously.
We hope our guide helped you figure out how to screenshot on Fire tablet. If you have more questions, feel free to use our comments section!

Leave a Reply