Chromebooks can become sluggish with time and if your ChromeOS device malfunctions, that is not uncommon. Luckily, there are many ways to boost the performance of your Chromebook. One workaround is to jump back to an older build or update the most recent one. Doing so can fix problems caused by a recent update.
You can also identify any apps that might be slowing down the device. It is recommended to either uninstall or close such apps. Are you unaware of which apps can lead to such issues? Today’s guide will teach you everything so that you can understand why your Chromebook is so slow.
So without further ado, let’s jump in.
Why is my Chromebook so Slow?
Performance will slow down if any update, synchronization, data transfer, or other processes are running in the background. It might be that your software needs an update. Alternatively, tweaking settings or hardware/software installed or downloaded when there is a poor network can also cause the device to slow down. Close unwanted apps from the system or uninstall unnecessary apps and extensions on Chromebook because overloading the system with apps is a major reason for slow performance.
Reasons Behind Slow Performance on Chromebook
In the realm of computers, Chromebooks are pretty low maintenance. Google’s ChromeOS operating system automatically and silently updates itself, similar to most core apps connected to the platform. It does not get sluggish or gunked up like Windows does.
Additionally, there is no need to worry about antivirus software. Chromebooks do not come with compatibility issues or complex settings. By and large, ChromeOS devices work smoothly.
But many users are proactive and desire superior performance exceeding mediocre standards. And if you boast a great taste for reading tech-related guides (like this one), there is no way you should ever ask, “why is my Chromebook so slow?”
Even with the minimal maintenance and upkeep of ChromeOS, the device can still be cleared up. Are you excited to learn the secret of erasing the clutter and keeping your Chromebook primed for the best productivity?
Take a few minutes to read the following sections, where we will explain how to speed up your Chromebook.
Chromebook Running Slow?
Sluggish performance does not occur overnight; plenty of causes can lead to this. But what can they be? Here are some of them:
Unnecessary Apps
This can tremendously slow down Chromebook and also enable unnecessary data sharing. Never overload your system with apps and extensions you don’t use. Such programs consume system resources in the background. Web pages load much slower too. Therefore, assess your app situation yearly.

Chromebook Update
Chrome regularly releases updates that are important to take notice of. Don’t ignore these updates, and always install the latest one. If your Chromebook runs on the old build, it can lead to many problems, including sluggish performance. A simple update can supercharge the device.
Clogged Up RAM
RAM-related processes on the device definitely slow down ChromeOS performance, particularly if they go unattended. It is common sense that RAM is a critical component in a computer, and when the RAM is clogged with data, slowed speed is inevitable.
Unnecessary Tabs Open
Many users are guilty of opening way too many tabs simultaneously. This can make the device unresponsive and will consume memory too. To fix it, simply restart the Chromebook or close the tabs you don’t need.

Background Process
Chromebooks can sometimes be sluggish if any synchronization, update, or data transfer occurs in the background. For better speed, just allow the process to complete or close it. Restart the device too.

Corrupted or Damaged Hardware
The SSD or hard disk present in your Chromebook can develop malfunctions. Checking the SSD or hard disk for errors is a good idea. In case these critical components are corrupted or damaged, buy new parts.
How to Speed up Your Chromebook
Make your Chromebook faster and more enjoyable to use with these simple tricks.
Launch the Task Manager
To get an answer to “why is my Chromebook so slow,” launch the Task Manager on the device. Certain extensions or apps might be hogging critical resources. This is a primary reason for sluggish performance. Follow these steps to know more:
- Press the Search + Esc key combo. This keyboard shortcut will launch the Task Manager.
- Tap on Memory Footprint and see the extensions or apps consuming the most RAM. Select CPU to view apps eating CPU resources. Plus, tap on Network to surf through the apps list and discover those actively utilizing an internet connection in the background.
- You can search for notorious apps based on memory, CPU, and network usage. Moreover, you can uninstall such apps.
- Right-click on the app and click on the End Process button on the bottom right. This will end the process for the time being.
- Do the same for remaining extensions or apps that are abnormally consuming the resources.
This will speed up the device quickly.
Uninstall Useless Extensions and Apps
Do you want to permanently uninstall those apps that lead to memory and CPU spikes on the device? Unnecessary extensions and apps should be removed to speed up your Chromebook. Such apps remain active in the background and operate some services. This is the reason why it slows down the device.

Follow these instructions to learn how to delete the extensions and apps:
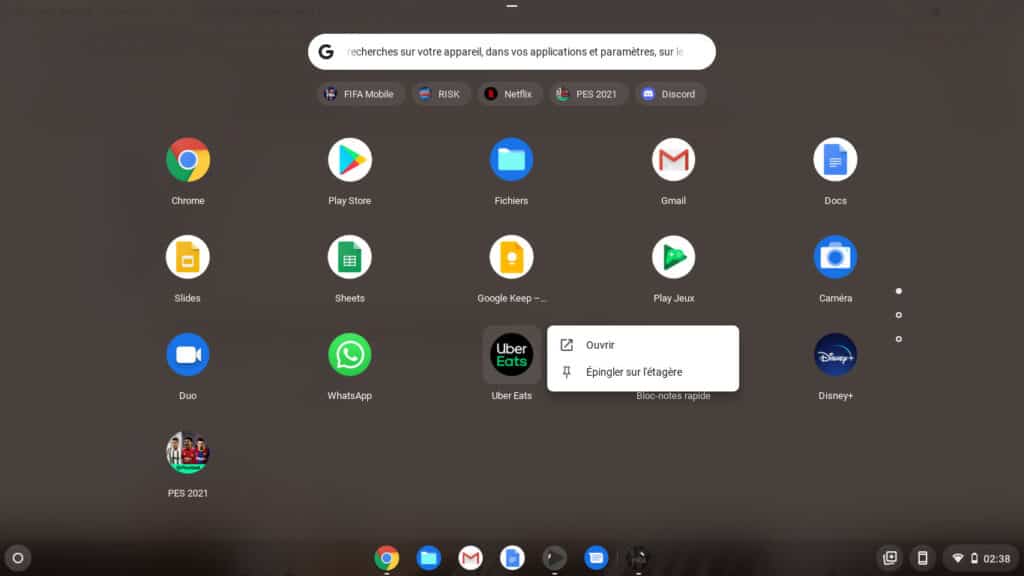
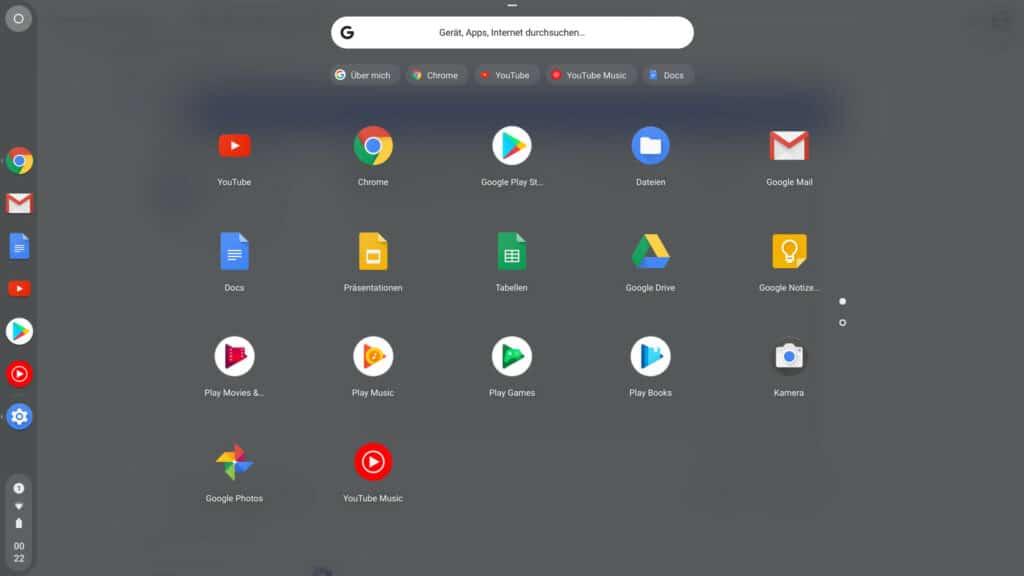
- Launch the Chromebook App Launcher situated in the bottom left corner.
- Right-click on the app that is causing problems and choose Uninstall via the context menu.
- Do the same for all similar apps which you do not use regularly. This will boost the speed of the device and free up storage space.
- To uninstall Linux apps on the device, launch the Linux apps folder from the App Launcher.
- Right-click on the Linux app and select the Uninstall button.
- Launch Chrome and tap on the Extensions icon beside the address bar to remove unnecessary extensions. Now, tap on Manage Extensions from the pop-up menu.
- From the Extensions page, tap on Remove to uninstall an extension immediately.
That’s it!
Free Up Storage Space
It is common sense that affordable Chromebooks are come with minimum storage, which fills up quickly. And with little storage space, the system will start to malfunction, ultimately slowing down the device.
Here are the steps to free up storage:
- Check the remaining space on the device — launch the Files App and press the 3-dot menu in the right corner. On the bottom, the available disk space will be visible.
- Launch the App Launcher and type storage in the search bar on the top. Now, tap on Storage management.
- All services and apps present on your Chromebook are available here. Tap on My files, and it will open.
- Remove any irrelevant files. To save some files, shift them to a micro SD card or Google Drive.
- Choose the Browsing Data option to remove the entire cache, browsing history, and cookies on the device.
- Tap on Cached images and files and edit the Time Range to “All Time” at the top.
- Afterward, press Clear Data to free maximum storage from the device.
- Now, tap on App and Extensions from the Storage Management settings. This will showcase all the device’s Android apps, web apps, and extensions.
- Uninstall the apps from here by clicking on the app and pressing the Uninstall button.
You have successfully cleared up considerable storage.
Limit Disk Space for Linux
It is possible to just erase the installation or reduce the Linux footprint if you no longer utilize the container. Doing so will clear up ample space, with no process running in a VM (Virtual Machine) container.
Therefore, for any user who rarely utilizes Linux on the device, follow these instructions to erase the VM or decrease its disk space.
- Click on Linux Beta storage underneath Storage Management.
- This will launch the Linux Configuration page. From here, tap on the Change button beside the Disk Size option.
- Afterward, decrease the storage given to Linux by using the slider. If you rarely use Linux, limit its storage space to 8 GB.
- And if you never have and won’t utilize Linux, just press the Remove button beside the Remove Linux for Chromebook option.
This will erase tons of space and resolve the issue.
Downgrade or Update the Chromebook
Has it been a while since you updated your Chromebook? It is advised to do it now. Google regularly introduces ChromeOS updates that add performance fixes. This means that the latest update can increase the speed of the device.
If you enjoyed satisfactory performance on the previous build and want to keep using the older ChromeOS variant, that is also completely possible. But for updating the Chromebook, see the instructions below:
- Launch the Quick Settings Menu on the bottom right corner and press the cogwheel icon to view the Settings menu.
- Visit About ChromeOS on the left sidebar and tap on Check for updates on the right side.
- Your device will now search for the latest updates. If there is an update, the device will automatically download and apply the update.
Simply restart the device to view the changes.
Powerwash Chromebook
Have you tried all the methods mentioned above but are still asking why my Chromebook is so slow? It is time to execute a hard reset or powerwash to set things straight. Doing so will erase all apps, folders, local files, and extensions.
Plus, it will reinstall the latest build of Chrome OS too. Therefore, ensure you sync any important files with Google Drive before the hard reset.
- Launch the Quick Settings Menu in the bottom right corner.
- Select the cogwheel icon to launch the Settings app.
- Tap on Advanced from the left sidebar to widen the menu and launch Reset Settings.
- From the right side, tap on Reset to do a powerwash.
Once the reboot is completed, set up the device to resolve the sluggishness.
Watch this YouTube tutorial to understand the process better:
Change Settings
Changing the settings on Chromebook can speed up a slow Chromebook. Read these instructions to change your privacy settings:
- Press the App Drawer button.
- Choose Settings.
- Tap on Show Advanced Settings.
- Select Privacy.
- Now, uncheck Use a web service to help resolve navigation errors.
- Also, uncheck Use a web service to help resolve spelling errors.
Additionally, you can change the DNS to rectify network problems. It is suggested you use Google’s DNS.
To change Google Drive settings, see the steps below:
- Go to the Google Drive website.
- Click on the gear icon at the top right corner.
- Choose Settings.
- Search for Sync Slides & Drawings files, Sheets, and Google Docs to this computer.
This will enable you to find the offline option and uncheck it.
Also Read: Step-by-Step Guide to Changing the Wallpaper on Chromebook!
Conclusion
After going through this guide, you can rest all year knowing that your device is working at optimum levels and capable of handling whatever tasks you throw its way.
You will never ask yourself, “why is my Chromebook so slow” ever again! Which one of the methods mentioned above worked out in your favor? You can use multiple methods too. This will ensure maximum performance.
Thanks for reading, and until next time.

Leave a Reply