Unlocking the full potential of your Chromebook is easy and just a few clicks away! Accessing its built-in camera to take pictures or videos may seem daunting at first, but with this simple guide, you’ll be snapping photos in no time.
All that said, let’s get started on how to use your Chromebook’s built-in camera for capturing memories anytime and anywhere!
How to Take a Picture on a Chromebook
Want to know how to take a picture on a Chromebook? Just follow the steps below to snap a photograph on your Chromebook.
- On your Chromebook, tap the Launcher option.
- Now, tap on the Camera icon.
- Select the Photo option to take a photo on your Chromebook.
Taking a Picture on a Chromebook
Taking a photo with your Chromebook is simple. We have outlined three easy methods to help you capture the perfect shot.
Using Google Assistant to Open Camera App
With the help of Google Assistant, you can start your Chromebook’s camera in no time. To take a photo or record a video, use the commands below.
- Open the camera: “Hey Google, launch my camera.”
- Take a picture: “Hey Google, take my picture.”
- Take a portrait: “Hey Google, take a portrait photo.”
- Record video: “Hey Google, take a video.”
Clicking a Picture in Tablet Mode
If you own a Chromebook that can transform into a tablet through folding or has a keyboard that can be detached, you can take pictures using the volume buttons. To do so, simply open the Camera application and press either the volume up or volume down button to capture a photo.
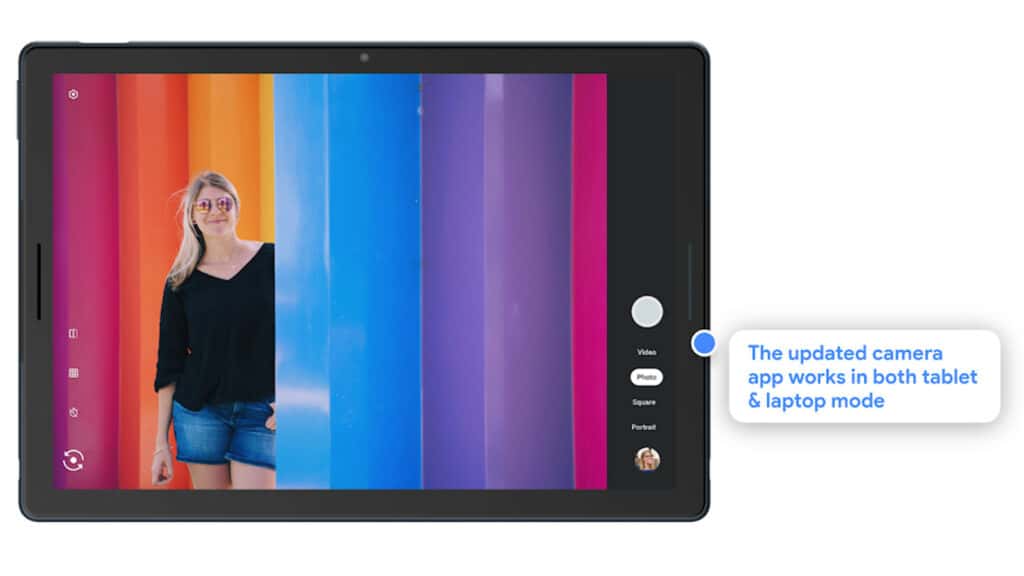
Keep in mind that if you’re using your Chromebook as a laptop, the volume buttons will only adjust the sound intensity. If it’s in tablet mode, those same keys become shutter controls for taking photos and videos.
Using Third-Party Apps
ChromeOS stocks a decent camera app, but if you’re searching for the ultimate photography experience on your ChromeOS device, there are some amazing third-party camera apps you can download via Play Store.
These third-party apps have added features such as background blur, unique stickers, and high-end filters for stunning photos and videos.
All You Need to Know About the Icons in Chromebook Camera App
When you open the Camera app on your Chromebook, you’ll find several icons located in the left sidebar. These symbols signify various features and functions — here’s what each one means.
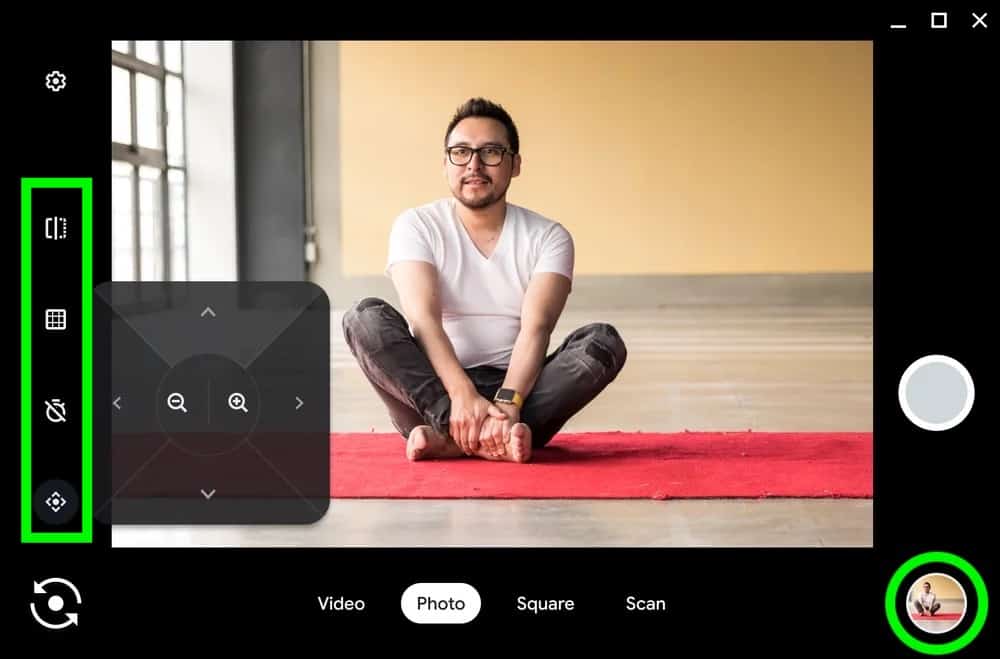
Timer
At the bottom of the sidebar, you will find a stopwatch icon. By clicking this icon and then pressing the shutter button, you can take pictures with a three-second delay. If desired, you can modify that timer delay duration up to 10 seconds in your camera’s menu settings.
Grid
To ensure that your photos have the perfect composition, click on the square icon resembling a tic-tac-toe board — it’s located at the top of your camera window. This will activate gridlines to precisely straighten and level out any subjects in view. And don’t worry — these lines won’t show up on whatever photo you take.
Mirroring
Mirroring allows you to conveniently adjust the horizontal alignment of a picture in real time. For instance, if you need to take an image of a book but its text is facing away from your camera – feel free to just tap on this icon and switch around the photo preview either left or right.
Settings
To discover a greater selection of camera preferences, enter the settings menu by clicking on the gear icon. From there, you can adjust resolution, timer duration, and even grid type to your desired specifications.
QR Code
You can use your Chromebook to scan Quick Response (QR) codes directly from the Camera app. Click on the iconic square maze-like icon in the upper right corner of your camera window and center it over a QR code to activate its detection. The Camera app will then display a link and copy button, so you can easily explore new content.
Camera Switch
On the left sidebar of your Chromebook, search for a switch icon if it has two internal cameras. Additionally, if you’ve connected an external camera to the device, this symbol will appear within its own window.
Microphone
To mute audio while recording, click on the microphone icon, which can be seen in the top-left corner of your Video window.
Video Snapshot
To capture a scene while recording, press the Snapshot button, located in the white circle above the Stop button. With just one click, you can take photos or snapshots of your video.
Pause
If you want to pause your video recording for a short break, click on this button. When you minimize the Camera app, the paused video will be saved on your Chromebook. But if you don’t manually stop the recording before closing out of the Camera app, then it’ll, unfortunately, be deleted from your device.
How to View Photos and Videos on Chromebook
There are numerous methods to enjoy your photos and videos. Here’s an overview of some options for viewing them.
From the Files App
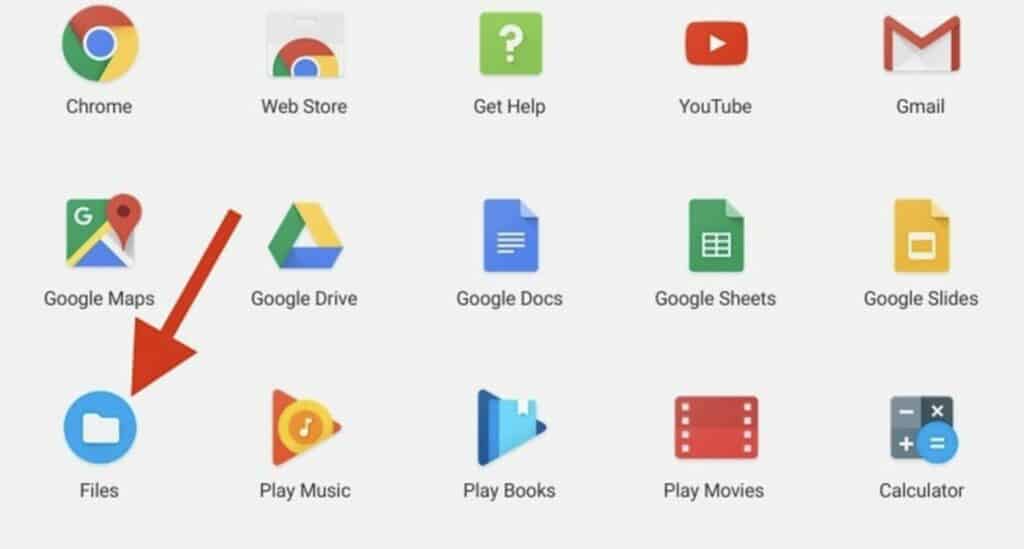
Need to view the photos on ChromeOS? Head over to Files, navigate to My files > Camera, and double-click or tap on your desired photo or video you want to see.
If you are using a Chromebook running ChromeOS 76 or earlier, photos and videos will be stored in the Downloads folder by default. Therefore, if you don’t find your Camera folder in the Files app, it’s likely that all of your media files (including pictures, movies, GIFs etc.) have been saved to this directory instead.
Additionally, third-party apps store their content within an Images directory as well.
To view your media files with more than the default Gallery app, simply select or long-press the file, then click on the Open drop-down button from the menu bar. From there, you can pick your preferred application.
To make a new default media viewer, select Change default and decide on the key program for viewing photo files.
To switch the default app for video playback, you’ll need to take an extra step. Pick a video file, hit the Open drop-down button, select Change default and then choose your desired program or application.
From the Camera App
If you’d like to get a glimpse at the image you just captured, simply open your camera app and click on the thumbnail of your recent video or photograph. You’ll find this small preview icon right beneath the shutter button.
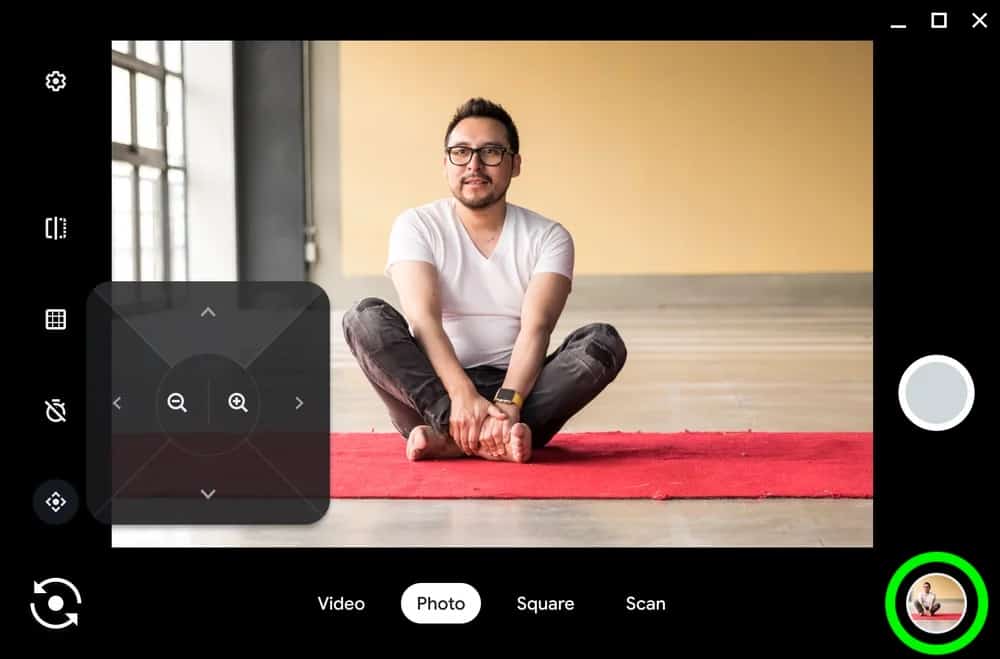
It will open the Gallery app; click on the left arrow to glance through past photos and videos, or tap on the right icon to view subsequent items. To tweak images within the Gallery app — just explore its menu bar.
Tap onto any one from a range of options such as filters, cropping, rotating, resizing, or annotating your pictures with ease.
Conclusion
We hope this comprehensive guide has opened your eyes to all the possible ways of taking a photo on a Chromebook. Now that you know how to take a picture on a Chromebook, which photo-taking method is your favorite? Share it in the comments below!

Leave a Reply