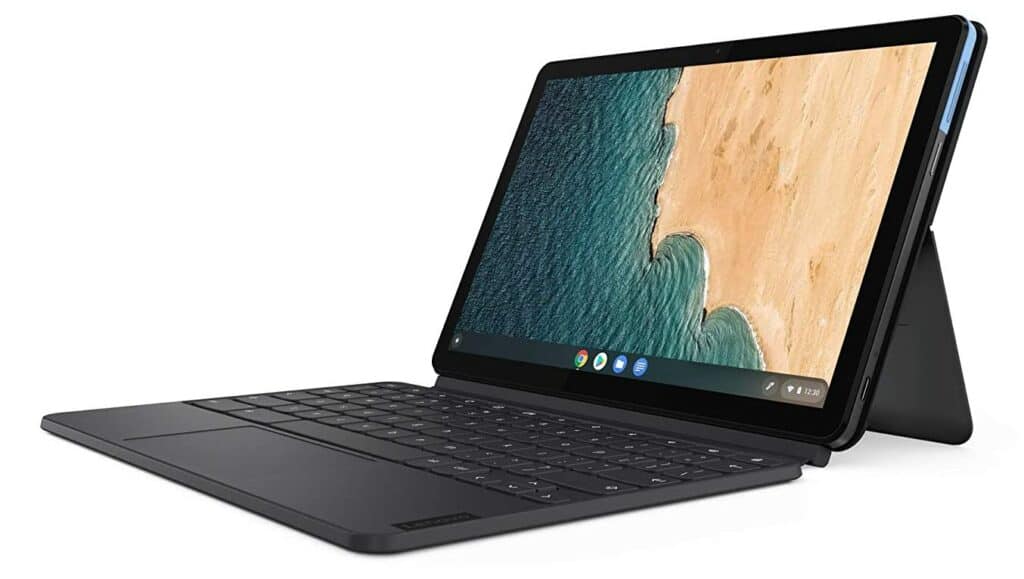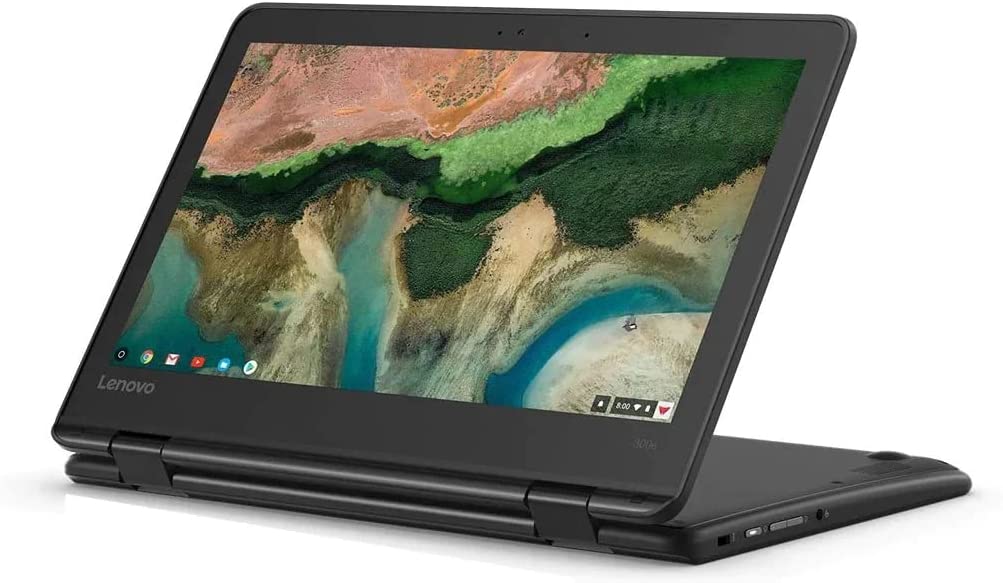
Chromebooks are user-friendly, straightforward, and dependable 2-in-1 devices that can perform most tasks for their users. Some Chromebooks even offer hardware that is superior to that of Windows laptops.
If you recently acquired a used Chromebook from someone else, it may still contain the previous owner’s personal data. Or, if you’ve been using your Chromebook for an extended period, performing a “Powerwash” will bring new life to the device.
So what exactly is a powerwash? Powerwash is a Chromebook feature that functions as a factory reset. It is essential when reselling or troubleshooting your device. Regardless of whether your Chromebook is made by Samsung, Asus, or another brand, this guide will show you how to powerwash a Chromebook.
So, without further ado, let’s get started.
How to Powerwash a Chromebook
Here is the simplest method to Powerwash your Chromebook:
- Log out of your Chromebook.
- Press and hold Ctrl+Alt+Shift+R.
- Select “Restart.”
- In the next prompt, choose “Powerwash.” ChromeOS will now delete all your data.
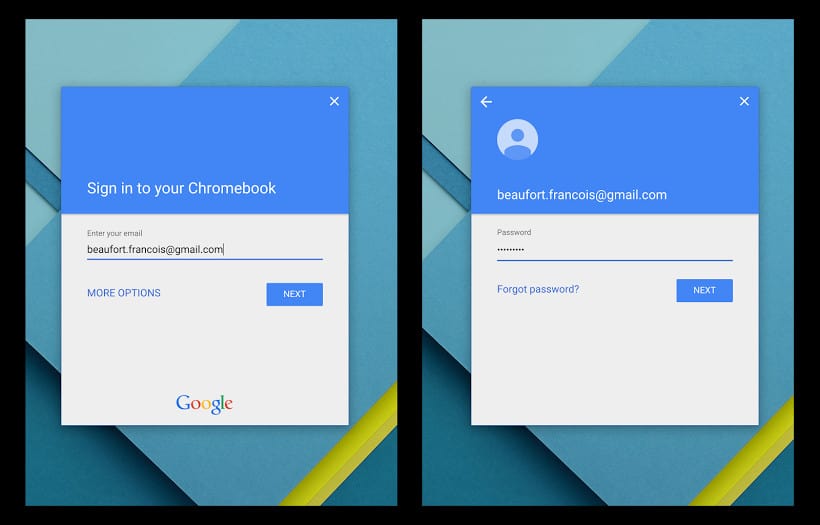
- Follow the prompts and sign in to your Google Account.
- Your Chromebook has been successfully reset.
Powerwashing Your Chromebook – When Should you Do It?
Google Chromebooks are known for their affordable price tags and user-friendly interface. While Chrome OS is not as complex as other operating systems like Windows or MacOS, users may still encounter stubborn glitches that can freeze the device.

In such cases, the Powerwash feature can be a lifesaver. It is also important if you plan to sell the device to a new owner, as you don’t want them to have access to your personal information.
This guide will teach you everything you need to know about powerwashing your Chromebook, allowing ChromeOS to return to its original default state.
Chromebook Powerwash – Definition
Not many people are familiar with the term “Powerwash” when it comes to ChromeOS. Simply put, it resets a Chromebook back to its default, factory state.

Why do users perform this action? For the following reasons:
- To free up storage.
- To improve the device’s efficiency.
- To erase private or personal data, especially before reselling the device, or before repairing it.
This means that Powerwashing a Chromebook deletes all the information stored on its hard drive, including:
- Files
- Apps
- Settings
In other words, powerwashing a Chromebook is equivalent to performing a factory reset on an Android phone or device.
The Difference Between Chromebook Reset and Powerwash
As previously mentioned, powerwashing a Chromebook is similar to performing a factory reset; it’s pretty straightforward.
However, there may be some difficulties when it comes to school Chromebooks that are enrolled on Chrome enterprise. Schools often require a powerwash, which involves additional steps and a forced wipe, putting the Chromebook into recovery mode.
It’s important to note that after powerwashing a Chromebook, you’ll need to re-enroll in Chrome Enterprise.
When Do the Chromebooks Enrolled in Enterprise Usually Have To be Powerwashed?
Schools prefer Chromebooks for their ease of use, which makes them accessible for both teachers and students. The following are some of the advantages of using a Chromebook:
- They require minimal maintenance.
- They can boot up and sync quickly.
- They are not susceptible to malware and viruses.
- They boast a long battery life.
- All your information is consistently backed up to cloud storage as a default.
However, like any device, Chromebooks also require maintenance. Powerwash is a solution if the Chromebook is running slowly or if students encounter software issues.

In some cases, a mass Chromebook powerwash is also performed:
- At the end of the school year after the summer, particularly if devices are assigned to one student for a year.
- Throughout the year, on a periodic basis, usually if students share devices on a Chromebook cart.
A mass Chromebook powerwash is not complicated, but the challenging part comes afterward, when the devices have to be re-enrolled in the enterprise. Both re-enrolling and enrolling in the enterprise are time-consuming and expensive.
Also Read: Our guide on unblocking websites on a school Chromebook
What to Know Prior to Chromebook Powerwashing
Before you powerwash your Chromebook, consider these important factors:
- Most Chromebook data syncs with the connected Google account, but Linux apps and Android app data won’t be saved. Make sure to manually back up this data before powerwashing.
- Local settings and files can’t be recovered after powerwashing.
- Although most Chrome user settings and OS files are stored in the cloud through either Google Drive or the Google Account, some locally stored items will still be erased during the powerwash.
- Files saved on the Chromebook’s local hard drive are typically stored in the Downloads section and should be backed up on either your personal Google Drive or an external device before powerwashing.
- All previously used Google Accounts will be deleted during powerwashing, along with their associated settings. Be sure to remember or write down usernames and passwords to restore your accounts after the powerwash.
If you need general troubleshooting instead of a reset, use the Chrome OS Diagnostics app.
4 Ways to Powerwash a Chromebook
There are different methods to powerwash a Chromebook. Let us take you through all of them.
Through the Chrome Browser
- Launch the Chrome browser.
- Click on the Options Menu, located in the upper right corner of the browser window.
- From the drop-down menu, select Settings.
- Scroll down in the Chrome Settings interface and select Advanced.
- Scroll down further and select Reset settings.
- Then, select the Powerwash option.
- A dialog box titled Restart your device will appear on top of the settings interface.
- Click on Restart.
- Your Chromebook will undergo a Powerwash after the restart.
- When prompted, enter your Google account details and follow the on-screen prompts to set up the newly restored Chromebook.
Note: If you plan on selling your Chromebook, do not enter your account details after the Powerwash. This will link your account to the device again, which is not desirable if you no longer own the Chromebook.
Through the Login Screen
If the previous owner did not delete their data from the device, users cannot log in and reset it via the settings.
Rather than starting the Powerwash Chromebook procedure via the Chrome Settings interface, users can also powerwash their device via the login screen by following these instructions (you’ll need a keyboard for this method):
- Open the Chrome OS login screen, and before authentication, use this keyboard shortcut: Shift+Ctrl+Alt+R.
- A window labeled Reset this Chrome device will appear.
- Press Restart to initiate.
- Chromebook will be restarted. Go back to the login screen, where a brand new variant of this window will be visible. Tap on Powerwash.
- Now, the Confirm Powerwash dialog will appear. Press Continue.
- After it is completed, users can sign in to the Google account and follow the on-screen prompts to set up the freshly restored device.

It is recommended to put a checkmark beside the Update firmware for added security option before the Powerwash Chromebook procedure. This will offer higher security for the device.
Through the Quick Settings Menu
This Powerwash Chromebook method will delete everything, including files and apps, so it is recommended to back up your data before starting the procedure. However, Google Drive files, passwords, and other data saved in the Google account will be unaffected.
The steps to perform a Powerwash are as follows:
- Tap on the time at the bottom right corner of the screen to open the Quick Settings Menu.
- Tap on the Gear icon located at the top right corner of the menu to open the Chromebook’s complete settings menu.
- On the left sidebar, select Advanced to view additional options.
- Select Reset Settings and then the Powerwash option.
- Confirm the Powerwash by clicking Reset and then Restart.
- After the device restarts, a screen labeled Reset this Chromebook will appear instead of the lock screen.
- Select Powerwash and then Continue.
The device will take some time to erase all data, after which you will be prompted to set up the device again, similar to the initial setup process when you first purchased it.
Thinking of getting an iPad instead? Be sure to read our comparison: Chromebook or iPad? Which one is better?
Last Option: Hard Reset Your Malfunctioning Chromebook
Is your Chromebook hardware causing trouble? If so, it’s a good time to perform a hard reset.
This will reset the hardware and may erase some items in the Downloads section, so make sure to back up your files before proceeding.
Here are the steps:
- Turn off the device.
- Press and hold the Refresh button, and then tap the Power button.
- After the device has restarted, release the Refresh button.
- If you own a Chrome OS tablet, press and hold the Volume Up and Power buttons for 10 seconds, then release them. Note that you may need a USB recovery drive — you will see all instructions on how to create a ChromeOS recovery drive once you execute the hard reset button combo.
This should resolve any hardware issues.
And in case you just want to reset your Chromebook and don’t know how, this video might be helpful. Check it out:
Conclusion
We have covered various methods on how to powerwash a Chromebook. With the step-by-step instructions provided, you should now feel confident in completing the task on your own.
Which method did you choose and why? Let us know in the comments below. Your feedback is appreciated! Thank you for reading.

Leave a Reply